Ordering an AWS Snowcone device – Configuring an AWS Snowcone Device to Be an IOT Gateway
Now that we’ve gone over all of the concepts, you’re ready to start getting your hands dirty. This chapter will show you step by step how to order an AWS Snowcone device and then configure it as an IoT gateway.
We’ll cover the following topics:
Ordering an AWS Snowcone device
Deploying the backend in your AWS account
Preparing the device with the Snowball Edge CLI
Configuring AWS IoT Greengrass on the Snow device
Walkthrough of what you’ve created
Ordering an AWS Snowcone device
This section will walk you through the process of ordering an AWS Snowcone device via the management console.
Check out the following video to view the Code in Action: https://bit.ly/3Sx3pIf
Step 1 – Creating an S3 bucket
First, before placing the order, you must create an S3 bucket with a globally unique name.
Create an S3 bucket. We’ll be uploading some code there that our automation will reference. Replace your_bucket_name with a name that is globally unique.
The command to do this from the CLI is as follows:
aws s3 mb s3://your_bucket_name
This can also be done from the AWS Management Console under S3 > Buckets > Create bucket while in the region you wish to use:

Figure 12.1 – Creating an S3 bucket from the AWS Management Console
If you choose to create it through the AWS Management Console, simply follow the prompts and accept all of the defaults.
Step 2 – Creating a new job
In the AWS Management Console, navigate to your chosen region. Next, search for the AWS Snow Family page. Follow that link, then click Create job on the left:
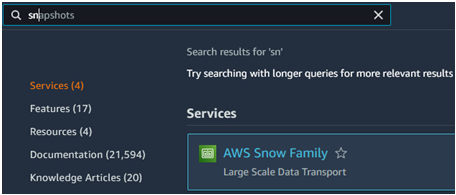
Figure 12.2 – Navigating to the AWS Snow Family page
Step 3 – Selecting the job type
Give your job a name and select the Local compute and storage only option. Then, click Next:
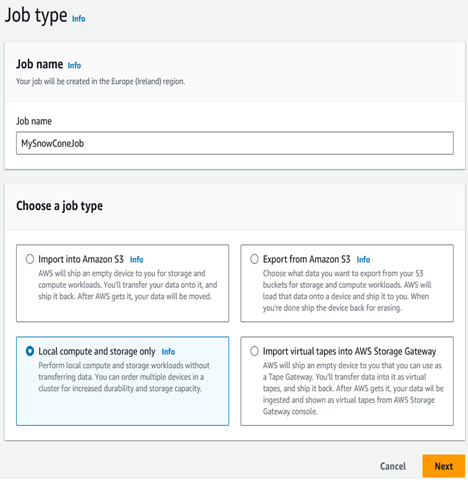
Figure 12.3 – Creating an order job for an AWS Snow Family device
Step 4 – Choosing a form factor
Select the Snowcone SSD option:
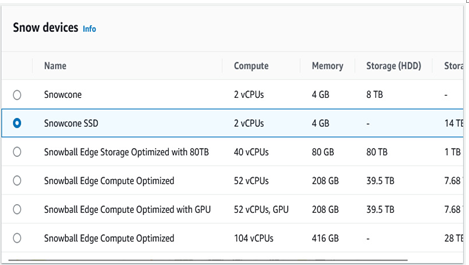
Figure 12.4 – Selecting the Snowcone SSD option
Check the box for the Amazon Linux 2 AMI:
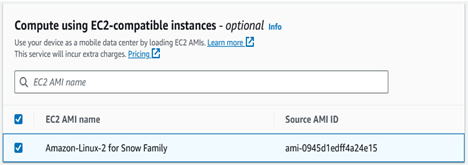
Figure 12.5 – Selecting the Amazon Linux 2 for Snow Family AMI
Select the S3 bucket you created earlier, then click Next:
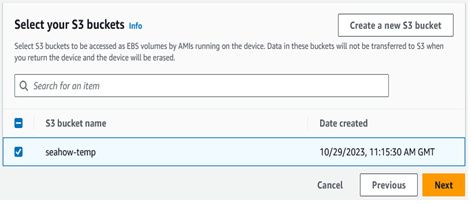
Figure 12.6 – Choosing the S3 bucket created in step 1
Step 5 – Selecting optional components
Check the box labeled Install AWS IoT Greengrass validated AMI on my Snow device:
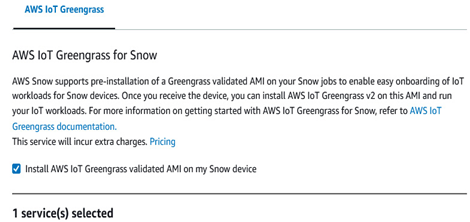
Figure 12.7 – Installing the AWS IoT Greengrass-validated AMI on the Snowcone device
Also, check the boxes labeled Enable Wireless for Snowcone and Manage the device remotely with OpsHub or Snowball Client. Then, click Next:
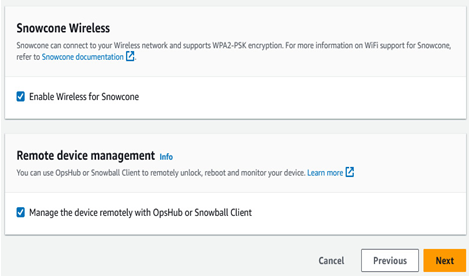
Figure 12.8 – Enabling Wi-Fi and remote management on the device
Step 6 – Setting encryption options
Choose the encryption key you wish to use:
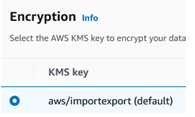
Figure 12.9 – Using the default KMS key
Click the Create service role button, and the service will automatically create the needed IAM role for you:
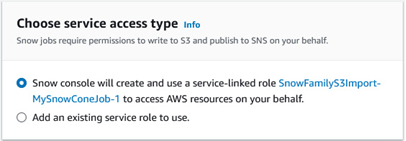
Figure 12.10 – Allowing the job to create a service-linked role for you
Enter your shipping address and choose a delivery speed option:
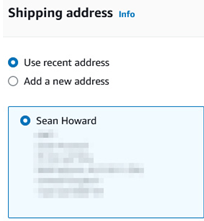
Figure 12.11 – Setting the shipping address
Finally, create a new SNS topic. Give it a name and enter your email address:
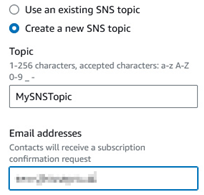
Figure 12.12 – Creating a new SNS topic
Click Next to proceed.
Step 7 – Confirming your selections
You will now be presented with a summary of your order. Ensure everything is correct, and if it is, click the Create job button. You may see an error that the IAM role isn’t ready yet if you do this too quickly. Just wait a couple of minutes and try again if this happens:
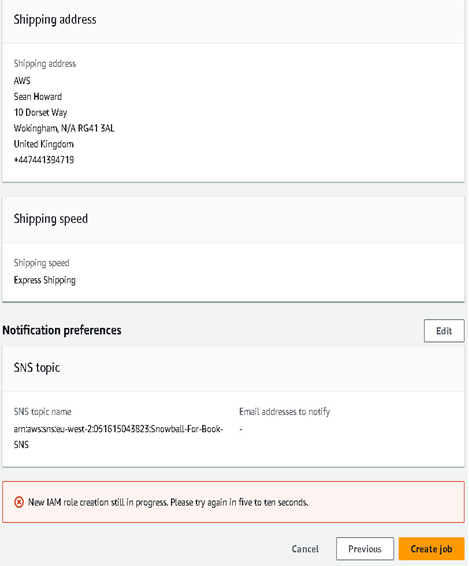
Figure 12.13 – Confirming the order settings and creating the job
Step 8 – Saving output files
Once the device is shipped, the Credentials section of the job details will allow you to copy the unlock code and download the manifest file. Save these to a secure location; they will be needed to unlock the device when it arrives.
Step 9 – Setting up the physical environment
Once the device has been delivered, power it on and connect it to your local network using one of the RJ45 Ethernet ports:
f

Figure 12.14 – Configuring an Ethernet port for DHCP
DHCP stands for Dynamic Host Configuration Protocol. It is a mechanism used to request an IP address from a pool maintained by a server somewhere on the network. This is usually the the default gateway.
Using the LCD screen, set the IP address for static or DHCP as preferred. Whichever you choose, capture the IP address shown on the screen.